
Marker Grid
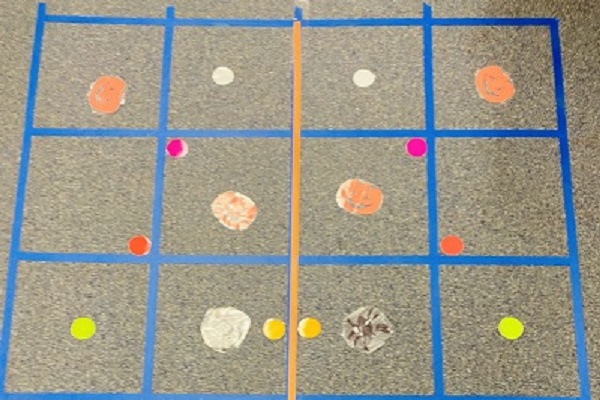
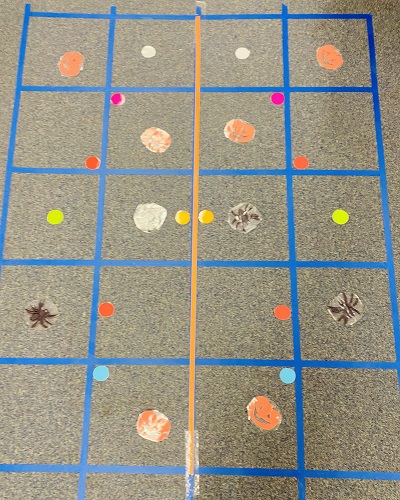
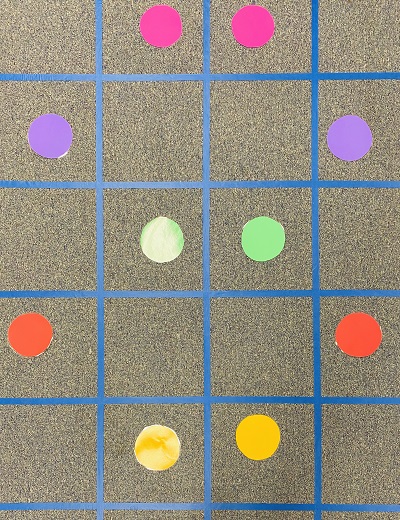
What is cool about this sheet is that you can laminate it and using a dry erase marker make dots, dashes, shapes, letters, whatever you want on your side of the grid. Then you let the client duplicate it one of two ways. They can either copy it as if they were copying from the classroom board, or they can copy it as if the paper were folded in two down the middle and the marks would have to touch each other (if you had paint and folded the paper, where would the paint touch the other side).
Without laminating it, to illustrate to kids, you can place paint on 1 side and then fold it and see where the paint touched the other side.
Another way to use this tool, is to put in in your fine motor station and have kids place colored pieces of paper on the grid using it the same ways that were mentioned above.
ST: Speeches you can place words or letters or objects in each space and incorporate your speech training. You can also place small erasers in each space and see how fast clients can call them off and pick them up at the same time! WOW! Simple and cool right?!
PT: You can place items in each space as well and have kids imitate the moves that correspond to your tiny pictures you have placed on the grid. You can also duplicate this grid on the floor with painters tape and then give them this mini hand held version that is marked and tells them what spaces they can step or tip toe on. Navigation of movement is cool.
OT: Beginning writers may find it fun to imitate the letter you write, with one spare space for correction of errors. Just turn the grid sideways and play with it. Add play doh if you like. It is yours!
IF you are creative and have some ideas to share, go for it! We would love to hear from you! Earn more points and help out the world.



No Comments